Vinyl Siding Installation That Protects Your Home
A siding project can look finished from the curb and still leave a home exposed where it matters most: behind the panels, around windows, and at the roofline. Quality vinyl siding installation is not simply a matter of covering old walls with new material. It is an exterior protection project that must manage wind, rain, seasonal temperature changes, and the natural movement of the siding itself.
For New Jersey homeowners, that distinction matters. Heavy rain, winter freeze-thaw cycles, humid summers, and wind-driven storms can find small installation errors quickly. The right contractor looks beyond color and curb appeal to address the wall system, drainage details, trim, gutters, roofing transitions, and any existing damage before new siding goes up.
What Vinyl Siding Installation Should Accomplish
Vinyl siding is a durable, low-maintenance exterior option, but it is not a waterproof wall by itself. Its primary job is to shed water and protect the structure from direct weather exposure. The layers behind it – including the weather-resistive barrier, flashing, and properly prepared wall surface – help direct moisture away before it reaches framing or interior finishes.
A properly planned project should improve the appearance of the property while also correcting visible and hidden concerns. That may include warped or cracked siding, loose panels after a storm, fading color, rotted trim, water stains near windows, or gaps where pests and moisture can enter. If these symptoms are present, simply installing new panels over the problem is rarely the right answer.
The work also needs to account for ventilation and movement. Vinyl expands in warm weather and contracts in cold weather. Panels that are nailed too tightly can buckle, warp, or pull away from the wall over time. Panels that are too loose can rattle in the wind. Experienced installation teams leave the right clearance at fasteners and trim channels so the siding can move as designed while staying secure.
Start With the Wall Behind the Siding
The most valuable part of a siding consultation often happens before any materials are ordered. A careful inspection identifies whether the existing wall is sound enough for new siding or whether repairs are needed first. Soft spots, damaged sheathing, deteriorated fascia, failed window flashing, and moisture-damaged framing should be addressed before they are concealed.
This is especially relevant when a homeowner has noticed roof leaks, overflowing gutters, chimney deterioration, or water around windows. Exterior systems work together. A gutter that spills water behind the siding or a roof edge with failing flashing can damage even a newly completed wall. Coordinating these details under one exterior contractor can prevent one trade from creating problems for another.
Wall preparation may involve removing existing siding, repairing damaged wood, installing a suitable weather-resistive barrier, and improving flashing around penetrations and openings. The exact scope depends on the home. Some properties need focused repairs around one elevation or a few windows, while others benefit from a full replacement and broader exterior corrections.
The Details That Separate Good Work From Quick Work
A clean-looking siding job is built around small details that are easy to overlook from the ground. Starter strips need to be level because every panel above them follows that line. Corners, J-channels, utility openings, vents, and window trim must be installed in the correct order to guide water outward rather than trapping it behind the cladding.
Flashing is one of the most important parts of the installation. Windows, doors, roof-to-wall intersections, decks, hose bibs, electrical fixtures, and other openings interrupt the siding system. Each requires a planned drainage path. If water can get behind a panel, it needs a way to exit without reaching the wall structure.
Trim choices affect both appearance and durability. Wider window and door trim can give a home a more finished look, while soffit and fascia details help protect roof edges and support proper attic ventilation. The best choice depends on the architecture of the home, the condition of the existing trim, and how the siding will meet the roof, masonry, porch, or attached garage.
A contractor should also inspect areas where siding meets brick, stone, stucco, or chimney masonry. These transitions require compatible materials and careful flashing. Caulk alone is not a long-term moisture-management strategy when a properly lapped flashing detail is needed.
Choosing Vinyl Siding for New Jersey Conditions
Vinyl is popular because it does not require routine painting, resists rot and insect damage, and comes in a wide range of colors and profiles. Traditional lap siding remains a common choice, but homeowners may also consider Dutch lap, board-and-batten accents, shake-style panels, or a mixed design that adds dimension to gables and entryways.
Material quality matters. Thicker panels generally provide better impact resistance and a more substantial appearance, though they also cost more. Insulated vinyl siding can add a layer of backing that improves the wall’s look and may help reduce thermal bridging. It is not a substitute for proper insulation inside the wall, so the value depends on the home’s construction and energy goals.
Color deserves practical consideration, not just aesthetic attention. Darker colors can make a home feel more modern and can highlight architectural trim, but they may show dust, pollen, and surface imperfections more readily. Lighter colors often suit traditional homes and can be more forgiving between cleanings. A contractor can help compare samples against the roof color, gutters, masonry, and neighboring exterior elements before a final decision is made.
What to Expect During the Project
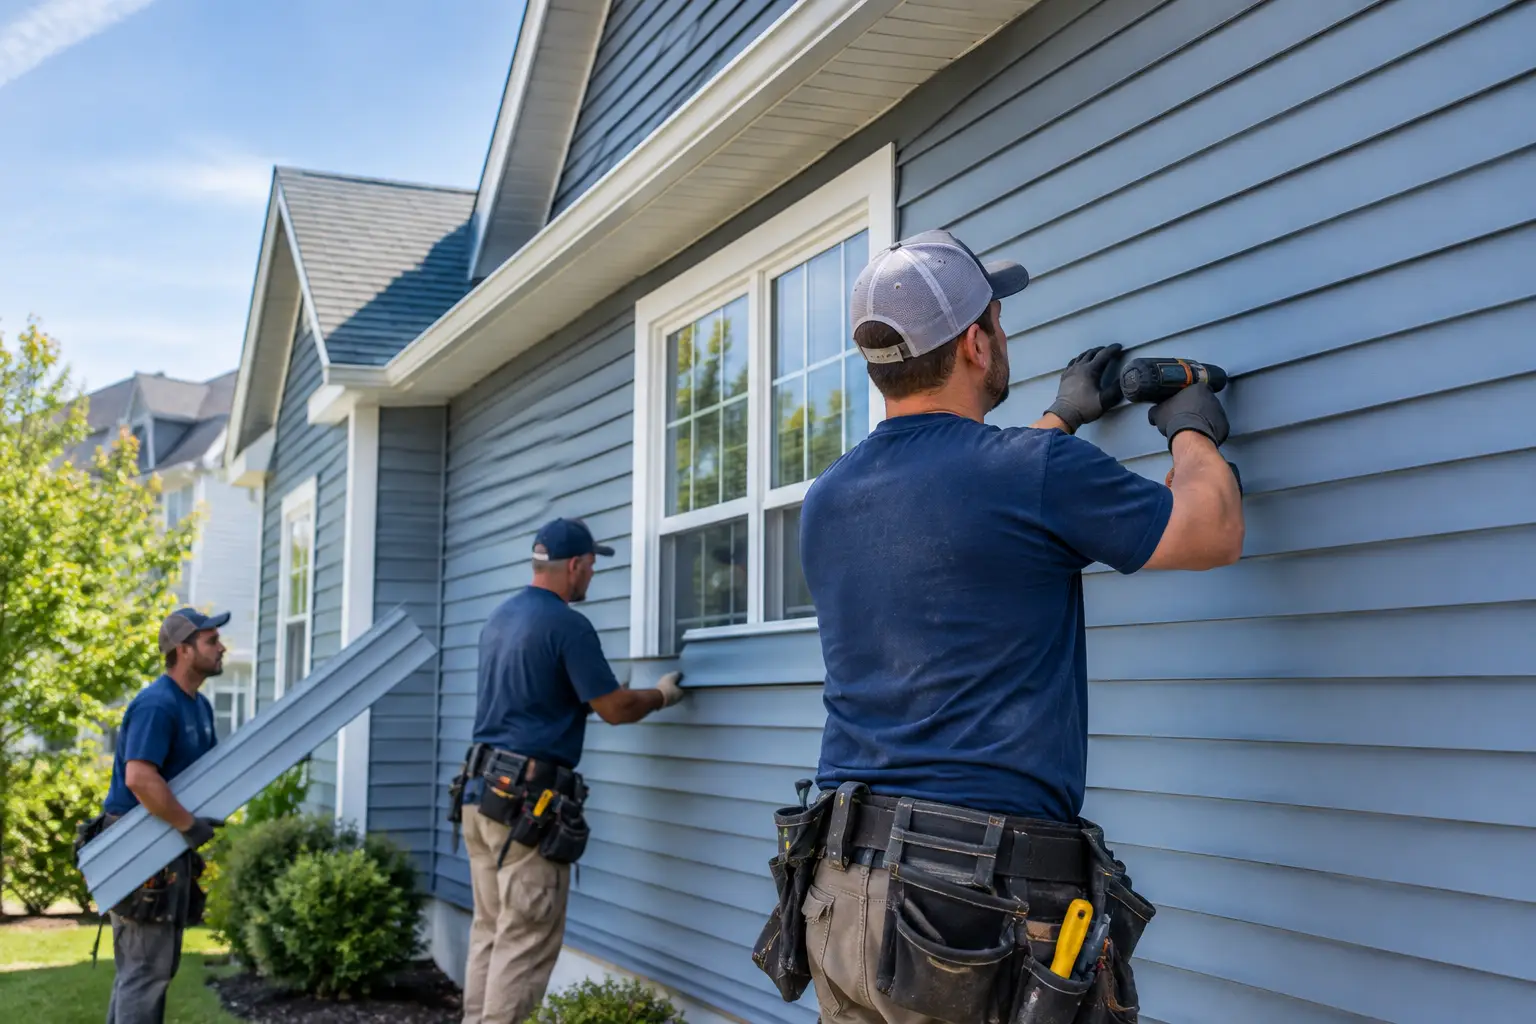
A dependable vinyl siding installation begins with a clear, up-front scope. Homeowners should understand what will be removed, what repairs are included or may be discovered, which siding and trim products will be used, and how the crew will protect landscaping, driveways, windows, and entryways during the work.
Once the project begins, crews typically remove old materials as needed, inspect the substrate, complete approved repairs, install moisture-control layers and flashing, then add trim and siding panels. The pace depends on the size and complexity of the home, weather conditions, access, and the amount of underlying repair required. A straightforward replacement may move quickly, while a home with rotted sheathing, multiple additions, or extensive trim work needs more time to do correctly.
Good communication is essential when unexpected conditions appear. No homeowner wants a surprise, but hidden damage sometimes cannot be confirmed until old siding comes off. The right response is a clear explanation, photos when available, practical repair options, and pricing discussed before additional work proceeds.
At the end of the job, the installation should be inspected for straight courses, secure but properly spaced fasteners, complete trim coverage, clean transitions, and functioning gutters and downspouts. The property should be cleared of construction debris, with magnet sweeping used around work areas where nails may have fallen.
Common Mistakes Homeowners Can Avoid
The lowest estimate is not always the lowest long-term cost. Pricing can vary because one proposal includes removal, wall repairs, premium trim, flashing updates, and cleanup while another only covers basic panel installation. Compare the scope, not just the final number.
Avoid choosing siding based only on a small color sample. Look at larger samples outside at different times of day, and consider how the selection works with permanent features such as roofing, brick, stone, and shutters. Also ask how damaged panels could be replaced in the future if the product line or color is discontinued.
Finally, do not postpone repairs when siding damage is paired with signs of moisture. Peeling interior paint, musty odors, stained drywall, soft exterior trim, or recurring leaks may point to a larger exterior-envelope issue. Addressing the cause before installing new siding protects the investment and the structure beneath it.
Top Pros Construction LLC approaches siding as part of the complete exterior system, helping New Jersey property owners coordinate siding, roofing, gutters, chimney, and masonry concerns with one accountable team. A thorough inspection and transparent estimate give you a practical path forward – whether your home needs a full replacement, targeted repair, or a closer look at the water-management details behind the wall.