Commercial Roofing Process: From Inspection to Closeout
A commercial roof can look acceptable from the ground while water is moving through seams, flashing, drains, or penetrations above the ceiling. That is why the commercial roofing process should begin with more than a quick visual check. For New Jersey property owners and facility managers, the goal is to identify the true source of risk, choose the right repair or replacement approach, and complete the work with as little disruption to tenants, employees, inventory, and operations as possible.
What the Commercial Roofing Process Should Accomplish
Commercial roofing is not one-size-fits-all. A low-slope office roof, warehouse roof, retail center, apartment building, and industrial facility can have very different drainage demands, roof assemblies, access limitations, and code requirements. The right process protects the building while giving the owner a clear understanding of the scope, schedule, materials, and expected investment before work begins.
A well-managed project should answer practical questions early. Is the roof a candidate for targeted repair, restorative coating, partial replacement, or full replacement? Is moisture trapped in the insulation or deck? Are rooftop units, curbs, skylights, drains, parapet walls, or flashing contributing to leaks? Addressing these details up front prevents a surface-level repair from becoming a repeat problem after the next heavy rain or snow event.
The Commercial Roofing Process, Step by Step
1. Site inspection and leak investigation
The first step is a thorough roof inspection. A qualified contractor examines the roof surface, seams, edges, penetrations, flashing, drains, scuppers, and visible signs of ponding water. Inside the building, the inspection should also consider ceiling stains, wet insulation, odors, damaged walls, and the location of reported leaks.
Finding the source of a leak is not always straightforward. Water can enter at one point and travel along the deck, insulation, framing, or conduit before it becomes visible indoors. On flat and low-slope roofs, open seams, deteriorated membrane laps, failed flashing, clogged drainage, and punctures from foot traffic are common concerns. The inspection should distinguish an isolated defect from evidence that the overall roof system is reaching the end of its service life.
When a leak is active, temporary protection may be needed first. Emergency repairs can limit interior damage while the contractor determines the long-term solution. Fast response matters, but a rushed permanent repair without a full assessment can leave hidden moisture or related exterior defects unresolved.
2. Evaluating the roof assembly and scope of work
After the inspection, the contractor evaluates what sits beneath the visible roof surface. This may include the membrane, cover board, insulation, vapor barrier, and structural deck. Soft areas, saturated insulation, recurring leaks, and deck deterioration can change the recommended scope significantly.
At this point, the owner should receive a straightforward explanation of the available paths forward. A repair may be the responsible choice when the damage is localized and the surrounding roof remains in sound condition. A restoration or coating system may make sense for certain roofs with a suitable substrate and limited deterioration. Full replacement is often the better value when failures are widespread, moisture is present beneath the surface, or repair costs are beginning to repeat year after year.
The lowest initial price is not always the lowest cost over time. Repeated leak calls can disrupt operations, damage finishes and equipment, create tenant complaints, and increase maintenance expenses. A detailed recommendation helps property stakeholders weigh immediate budget needs against durability and future risk.
3. Material selection and project planning
Once the scope is set, material selection and logistics move to the front of the project. Commercial roofing systems may include TPO, EPDM, PVC, modified bitumen, built-up roofing, metal components, or roof coatings, depending on the building and the condition of the existing roof. The best option depends on the roof’s slope, drainage, traffic level, exposure, energy goals, rooftop equipment, and budget.
Planning also covers access, material staging, debris removal, safety procedures, and weather monitoring. For an occupied property, the contractor should coordinate around business hours, delivery areas, loading docks, customer entrances, tenant access, and sensitive operations. Restaurants, medical offices, warehouses, schools, and multifamily buildings may each require a different work plan.
Clear communication is especially important when a replacement requires a tear-off. Removing existing materials can create more noise and activity than a recover installation, but a tear-off may be necessary when the old roof is wet, structurally compromised, or already has too many roof layers. The right choice depends on the condition of the assembly, not just the speed of installation.
4. Preparing the roof and correcting hidden issues
Before new roofing materials go down, the crew prepares the work area and protects the property. This can include setting up safety equipment, securing access points, placing debris controls, and protecting landscaping, walkways, vehicles, and nearby entrances where practical.
If the project includes removal of the existing system, the crew works in controlled sections to avoid exposing more of the building than necessary. The roof deck is inspected as old material comes off. Damaged decking, deteriorated wood, rusted metal, and moisture-affected components should be repaired before the new system is installed.
This phase is where quality workmanship makes a lasting difference. A new membrane installed over a weak substrate or saturated insulation may look finished on day one but can fail prematurely. Proper preparation gives the new roof a stable, dry foundation and helps protect the warranty requirements of the chosen system.
5. Installing the roofing system
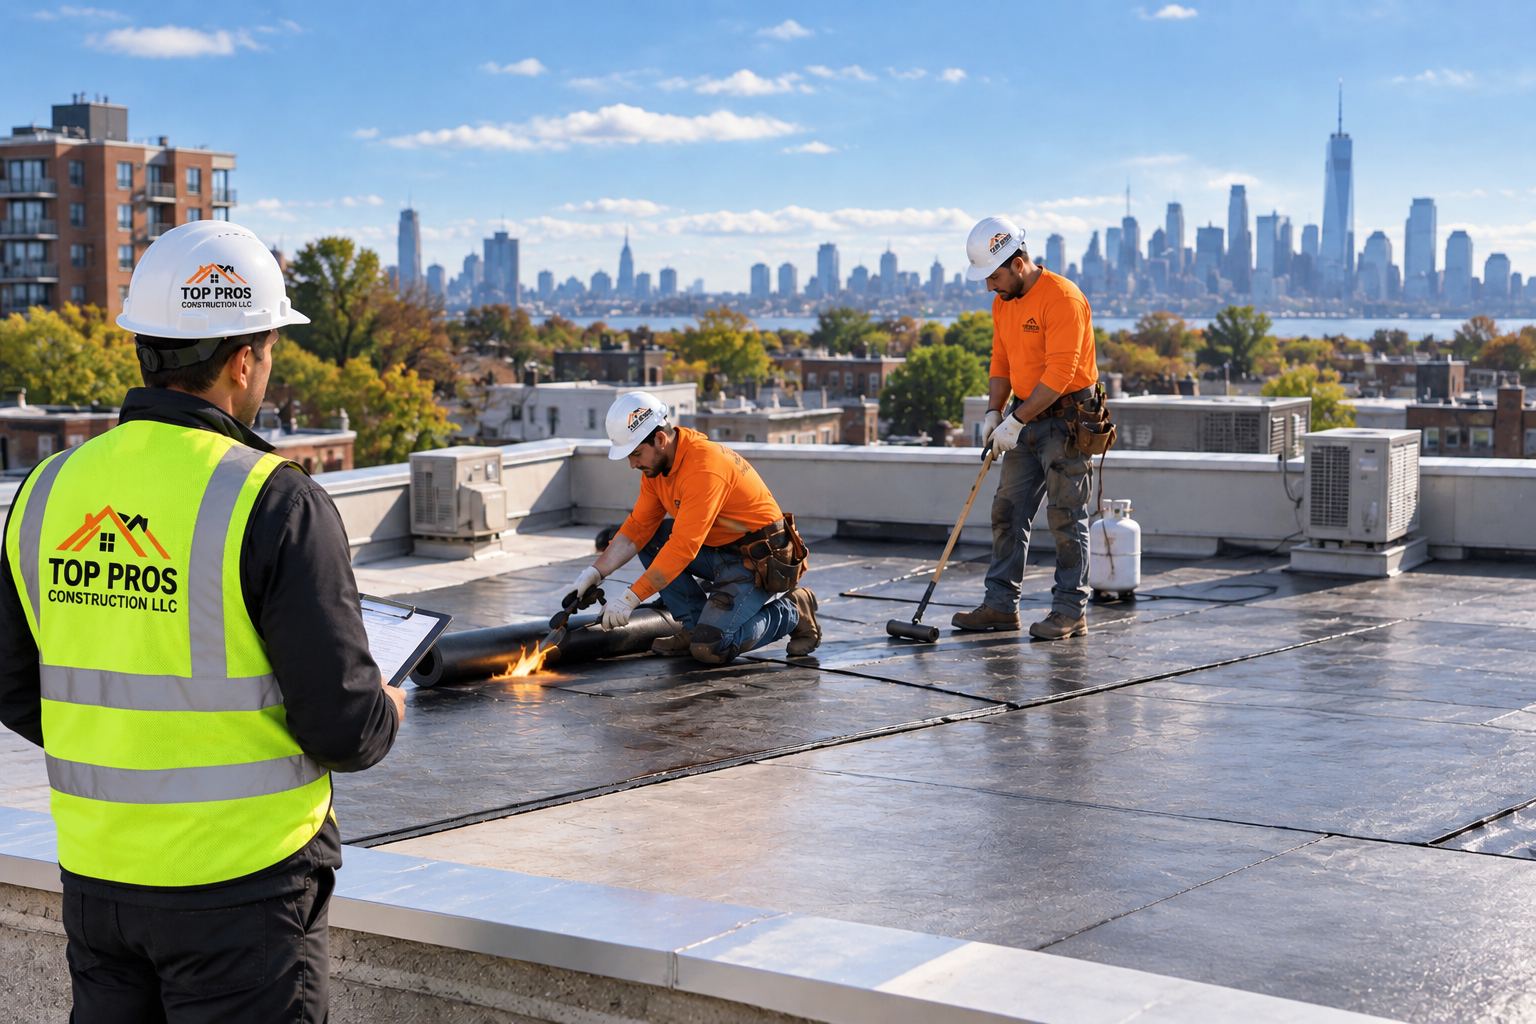
Installation follows the specifications for the selected roofing assembly. Depending on the system, this may involve insulation installation, cover boards, membrane attachment, heat-welded seams, adhered sections, fasteners, flashing, edge metal, and detailed work around penetrations and equipment.
The details deserve as much attention as the open field of the roof. Drains, scuppers, curbs, parapet walls, vents, pipes, expansion joints, and transitions are frequent leak points because they interrupt the main roof surface. Proper flashing and secure terminations help the entire system perform through wind, rain, temperature swings, and winter weather.
A dependable crew also keeps the jobsite organized throughout installation. Commercial properties need safe pathways, prompt debris removal, and regular communication when work conditions or weather affect the schedule. Top Pros Construction LLC approaches exterior work with the understanding that the roof is connected to drainage, wall transitions, masonry, and other systems that can influence water intrusion.
6. Quality control, cleanup, and final inspection
The job is not complete when the last section of membrane is installed. The contractor should inspect seams, flashing, drainage points, penetrations, edge details, and rooftop transitions before closeout. Any deficiencies should be corrected before the crew leaves the site.
Cleanup includes removing roofing debris, loose fasteners, packaging, and materials from the property. For commercial facilities, this also means checking surrounding areas where materials were staged and confirming that entrances, parking areas, and access routes are clear.
During the final review, the property owner or manager should understand what was completed, what materials were used, and what maintenance practices will help protect the investment. Keep project documents, warranty information, inspection notes, and repair records in one place. They can be valuable for future budgeting, insurance questions, property transactions, and ongoing maintenance planning.
Protecting the Roof After Installation
Even a new commercial roof benefits from regular attention. Seasonal inspections can catch blocked drains, storm damage, loose flashing, punctures, and early seam issues before they become interior leaks. Inspections are particularly worthwhile after severe wind, hail, heavy snowfall, or major temperature changes.
Maintenance should also account for rooftop traffic. HVAC service providers, satellite installers, solar contractors, and maintenance personnel can accidentally damage a membrane or flashing if walk pads and access routes are not used. Coordinating roof access and documenting any changes to rooftop equipment helps protect the roofing system over time.
A commercial roof is a major building asset, not a surface to ignore until water reaches the ceiling. A careful inspection, honest recommendations, skilled installation, and a practical maintenance plan give property owners the confidence to protect their building before small defects become expensive disruptions.